

Simple Tips for Capturing Clear Microscope Photos at Home
Using a phone to capture microscope images can take a little practice, but a few small adjustments can make a big difference.
Practical tips for improving microscope photos using a phone and a standard home microscope setup.
Learning to capture microscope photos at home can feel surprisingly frustrating at first. Even when the microscope image itself looks clear through the eyepiece, getting your phone camera aligned and focused can take a little patience and practice.
Over time, though, microscope photos can become incredibly helpful for documenting findings, tracking progress, comparing samples, asking questions, and continuing to build confidence with microscopy.
Whether you’re learning fecal egg counting for livestock or horses, practicing parasite identification, or simply trying to improve your microscopy skills at home, here are a few simple tips that may help make the process a little easier.
Why Microscope Photos Can Be Helpful
Microscope photos can be useful for:
documenting findings over time
comparing structures or parasite eggs
tracking learning progress
sharing images for educational discussion
building confidence with identification
They can also be helpful when revisiting cases later or comparing what you’re seeing from one sample to another.
Capturing microscope images can make it easier to revisit findings and continue building confidence with identification.
Stabilizing Your Phone
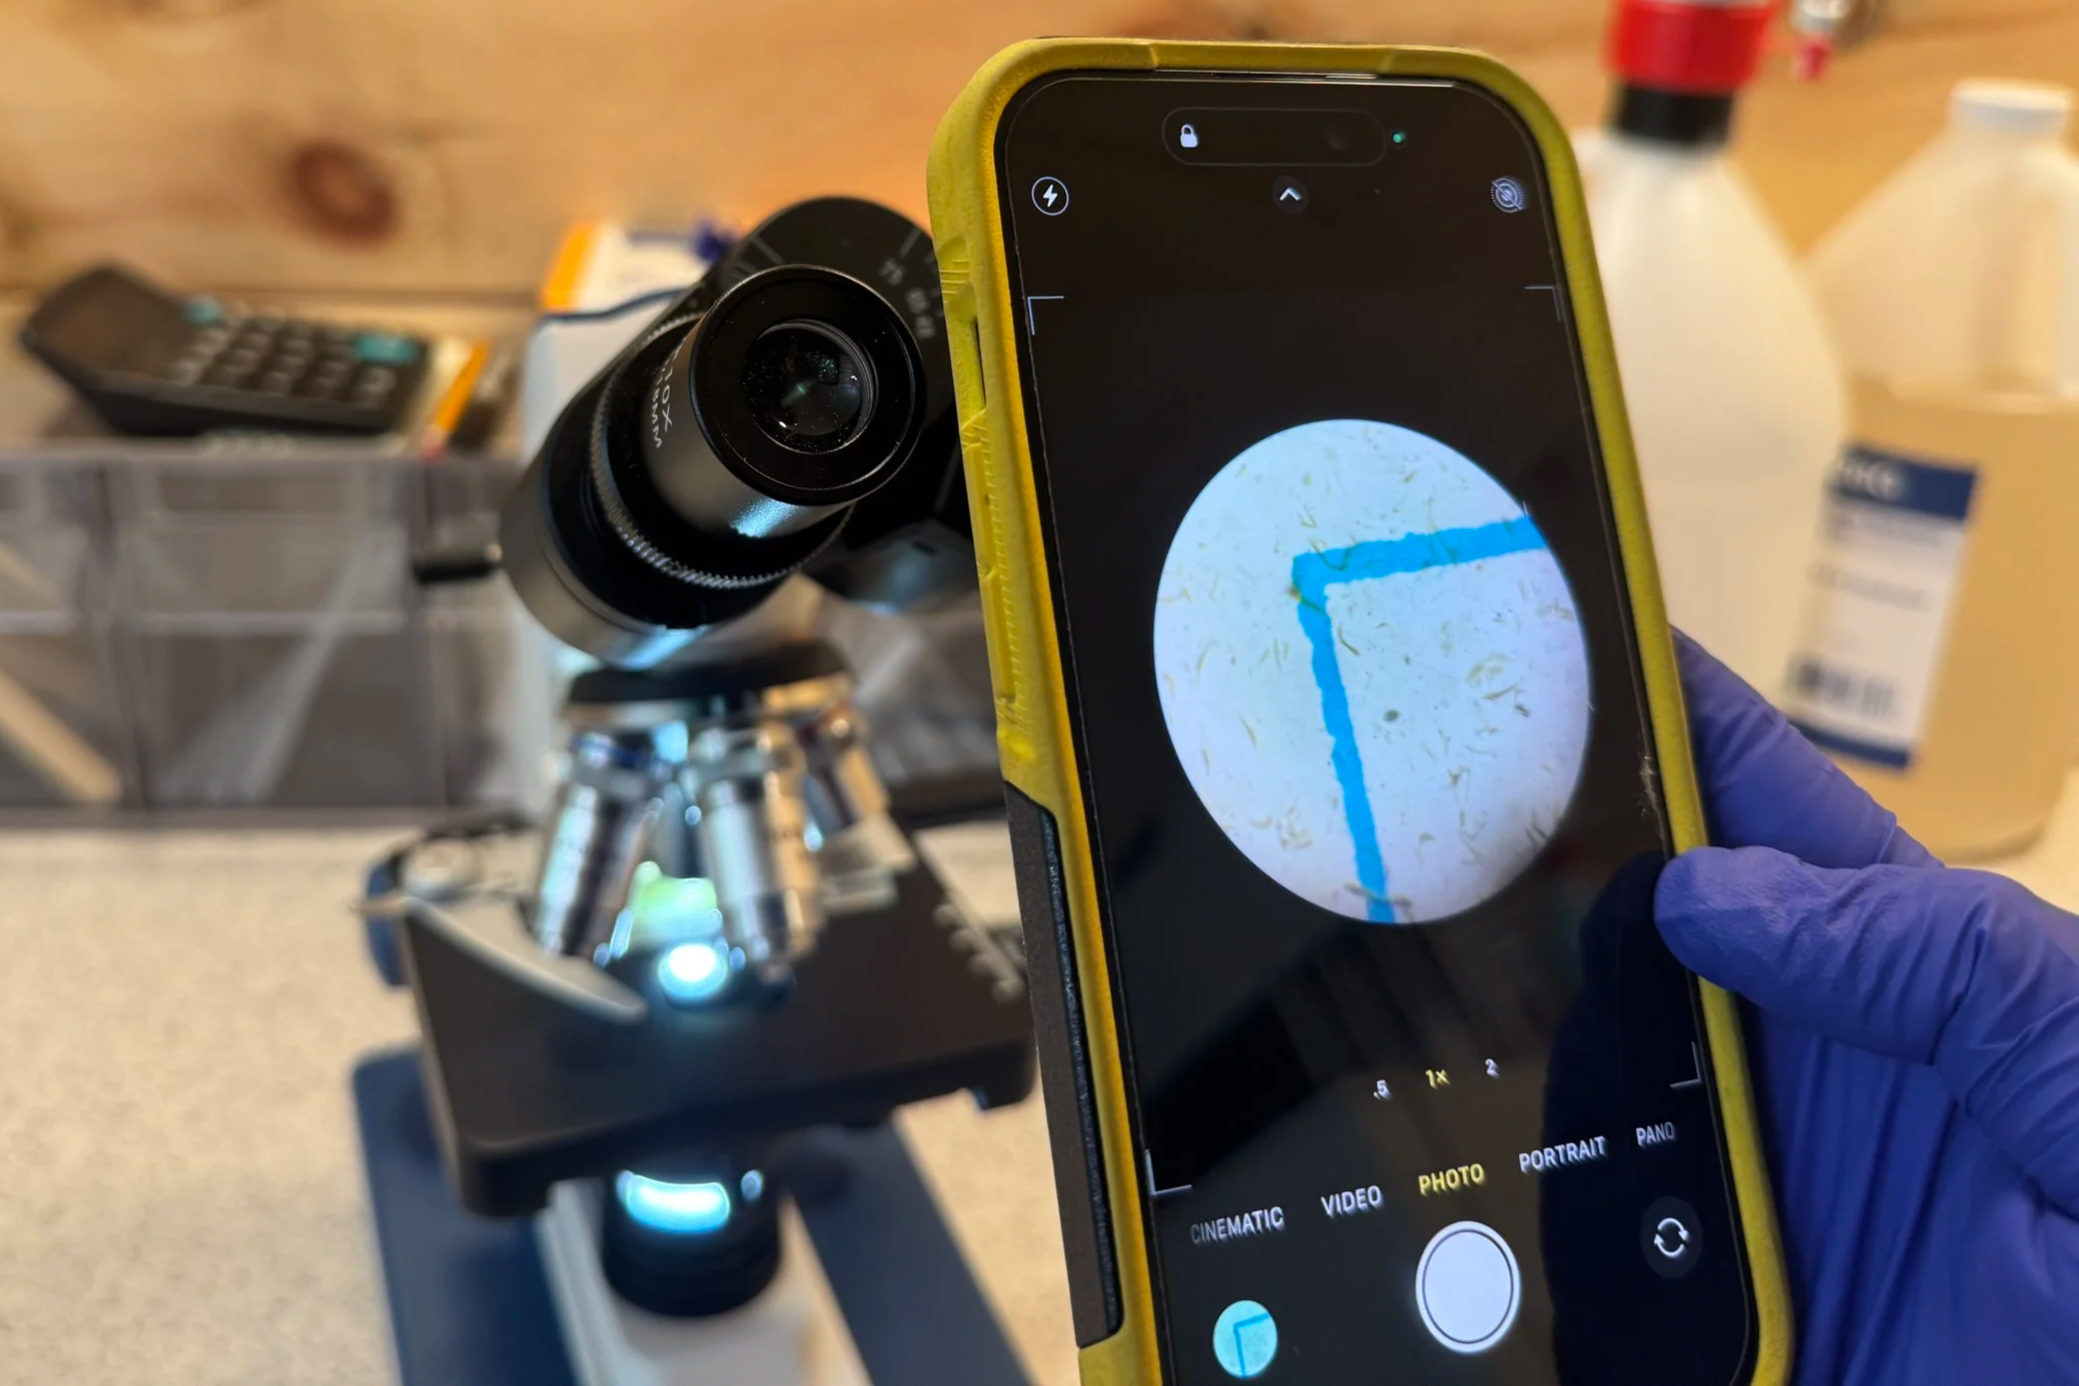
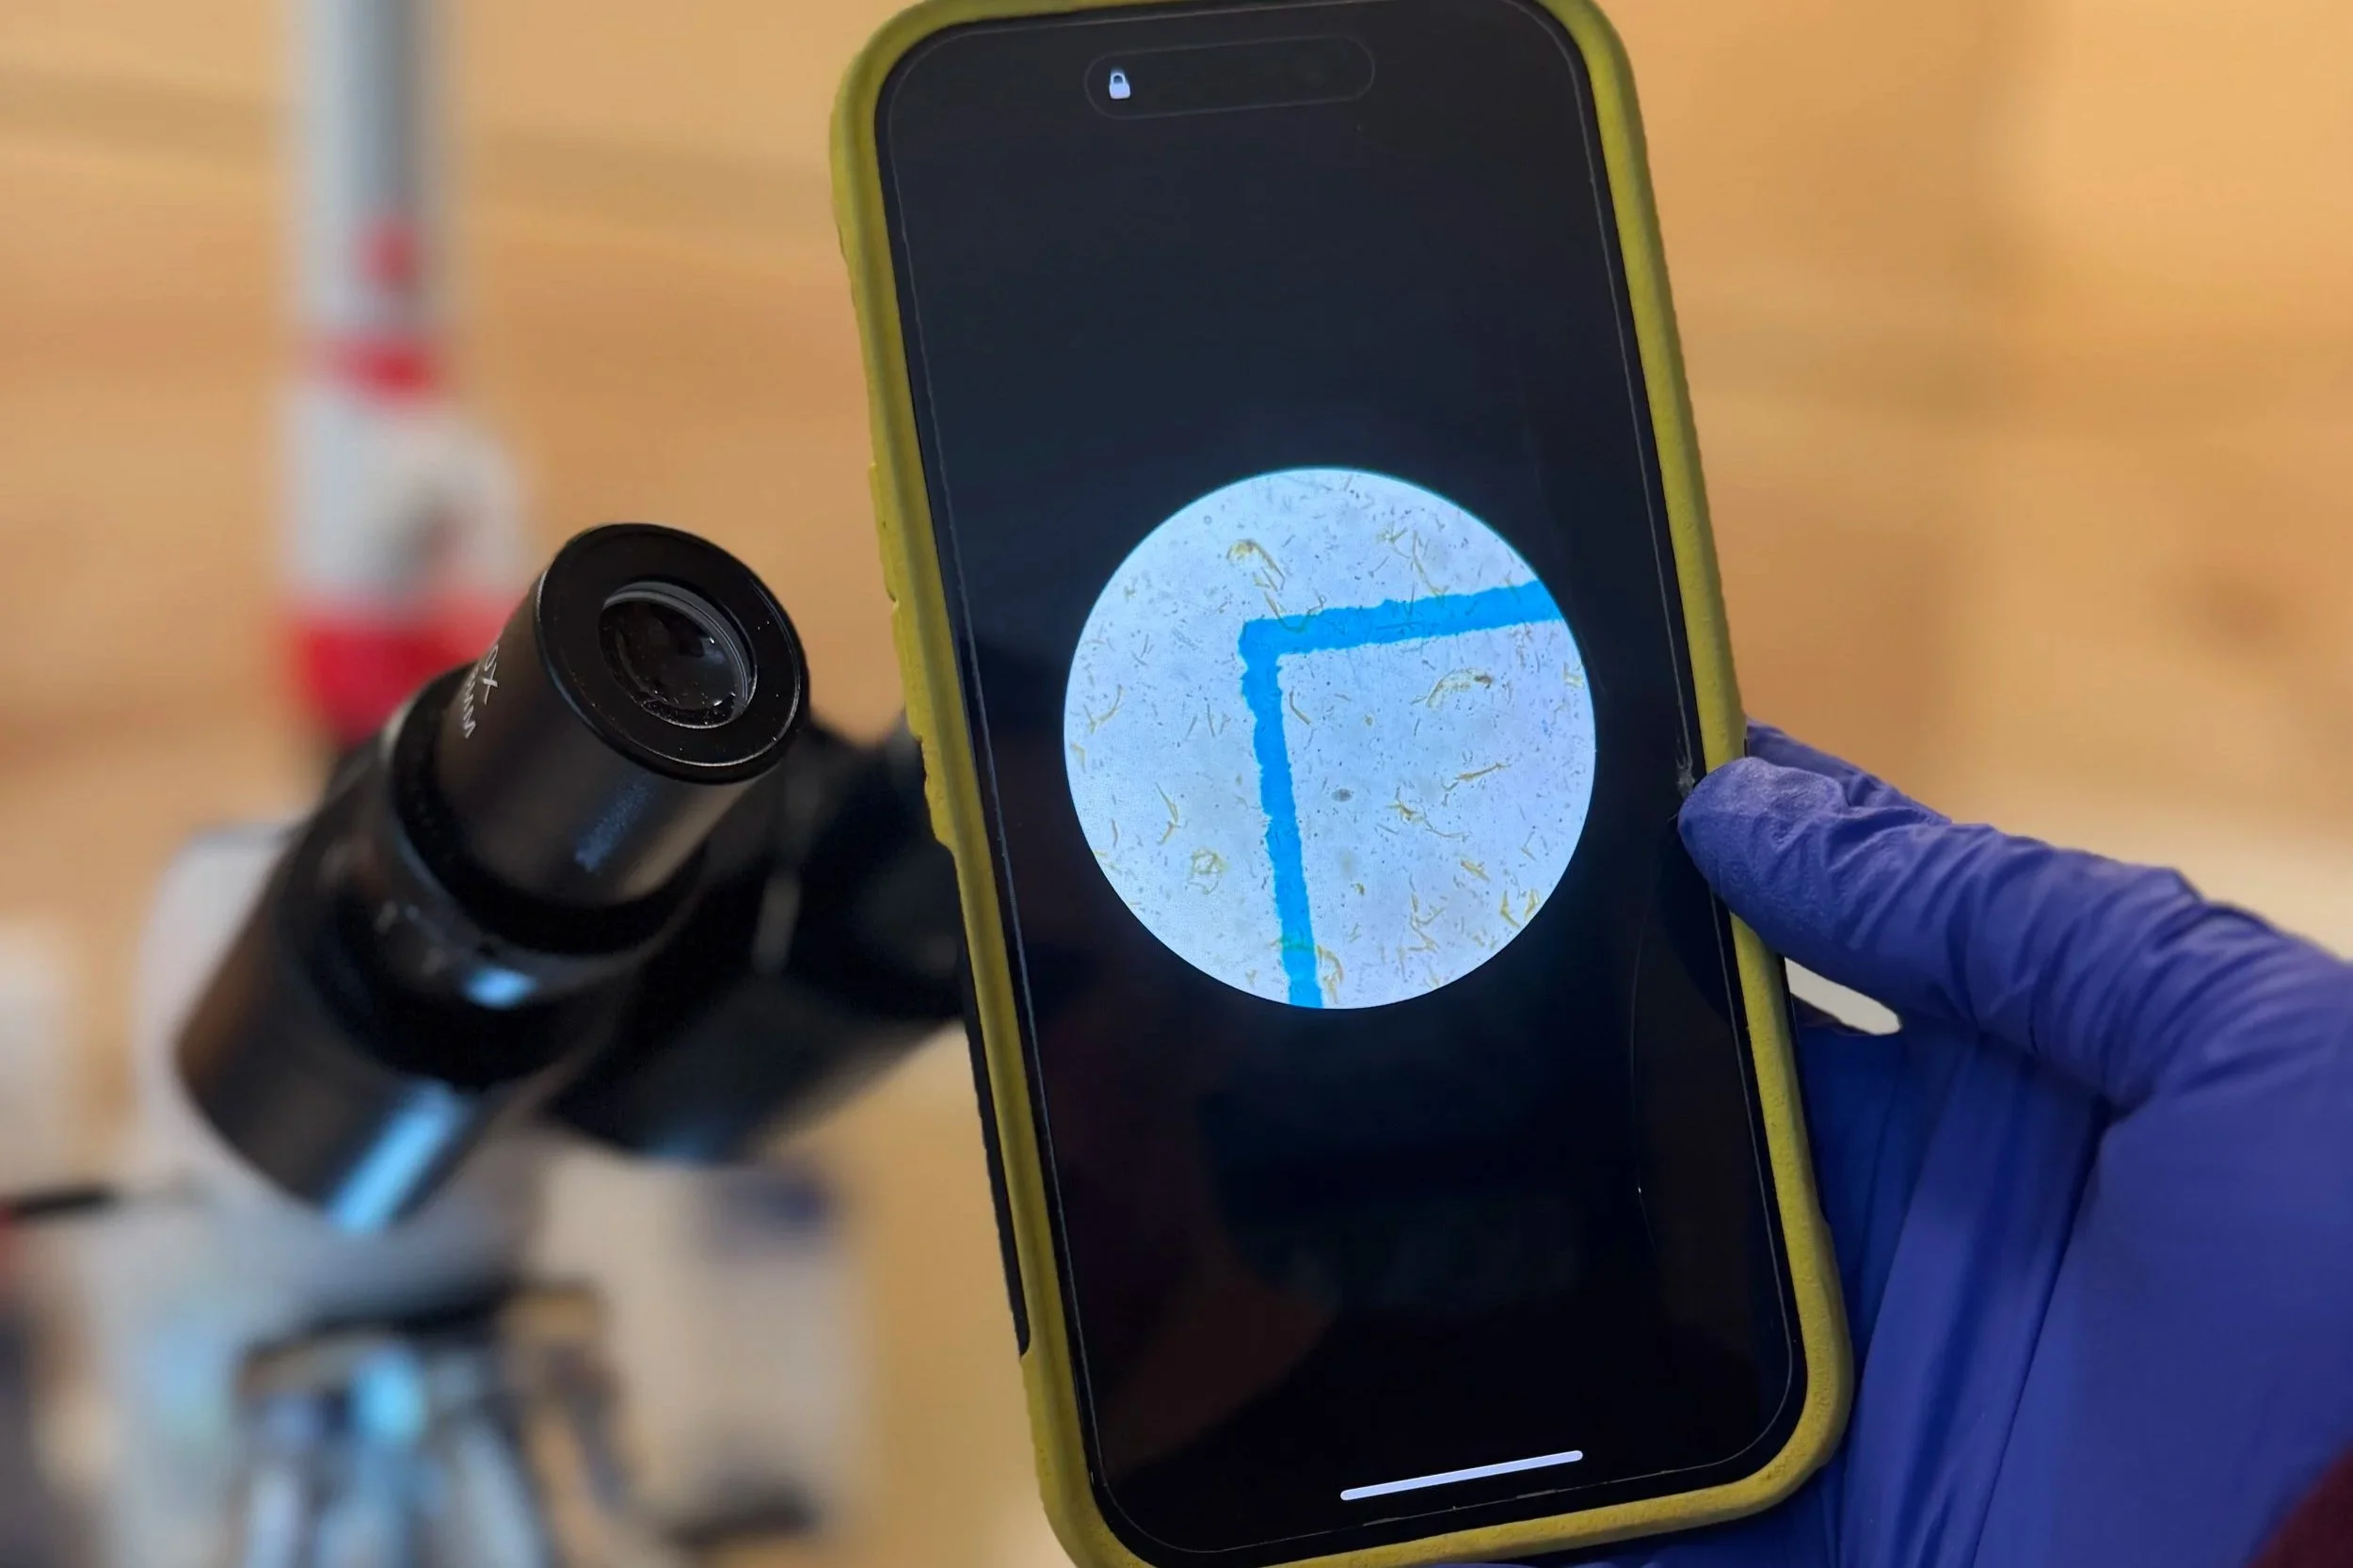
One of the biggest challenges when first taking microscope photos is simply getting your phone properly aligned with the eyepiece.
Small movements can make a surprisingly big difference. Moving slowly, stabilizing your hands, and taking a few extra seconds to adjust positioning can often help improve image clarity quite a bit.
It’s also completely normal for this process to feel awkward initially. Most people experience a learning curve when first trying to combine phone photography with microscopy.
Focus and Lighting Tips
Lighting and focus can also have a major impact on image quality.
A few things that may help:
make slow, small focus adjustments
allow your phone camera a moment to refocus
avoid moving the phone too quickly
experiment with microscope light intensity
clean lenses regularly if images appear hazy
Sometimes slightly lowering or adjusting the microscope brightness can actually improve contrast and image quality.
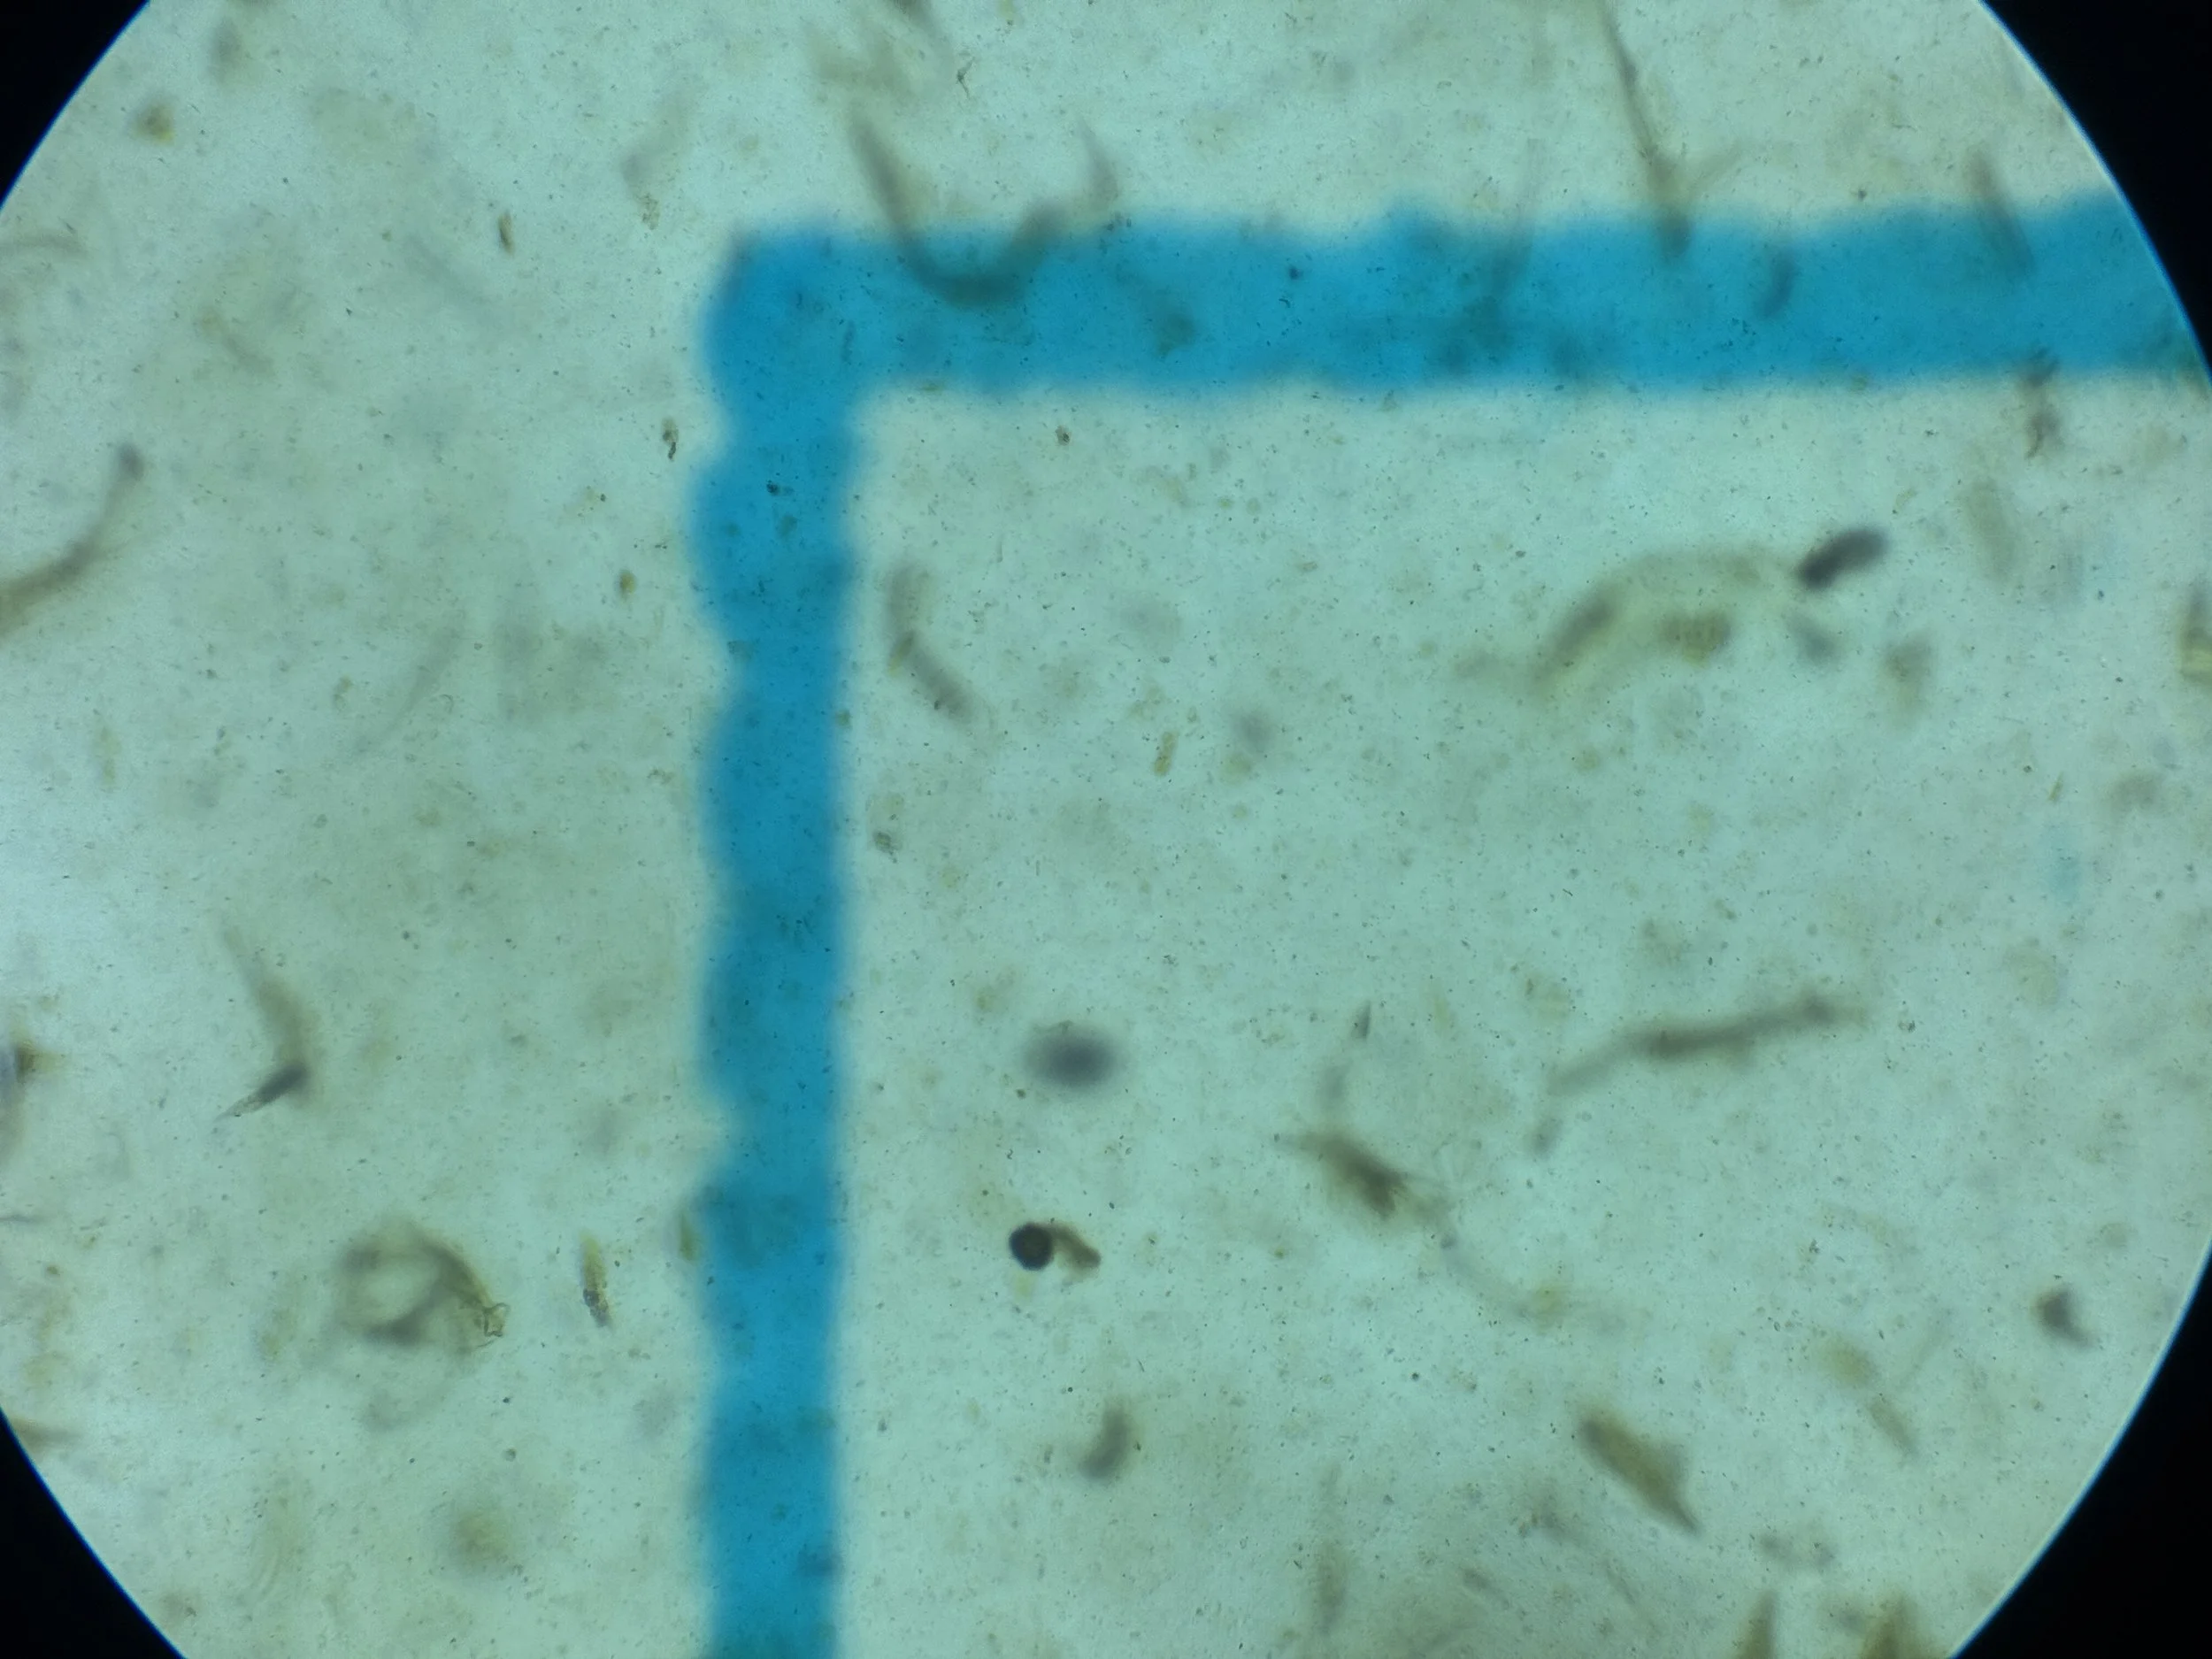
Microscope photos may appear blurry for many reasons, including movement, lighting, and focus depth.
Common Beginner Mistakes
A few common issues I frequently see include:
using too much digital zoom
moving too quickly while adjusting focus
difficulty keeping the phone centered over the eyepiece
trying to capture images before the microscope itself is fully focused
frustration from expecting perfect images immediately
Microscopy is a skill that develops gradually over time, and consistency is often more important than perfection.
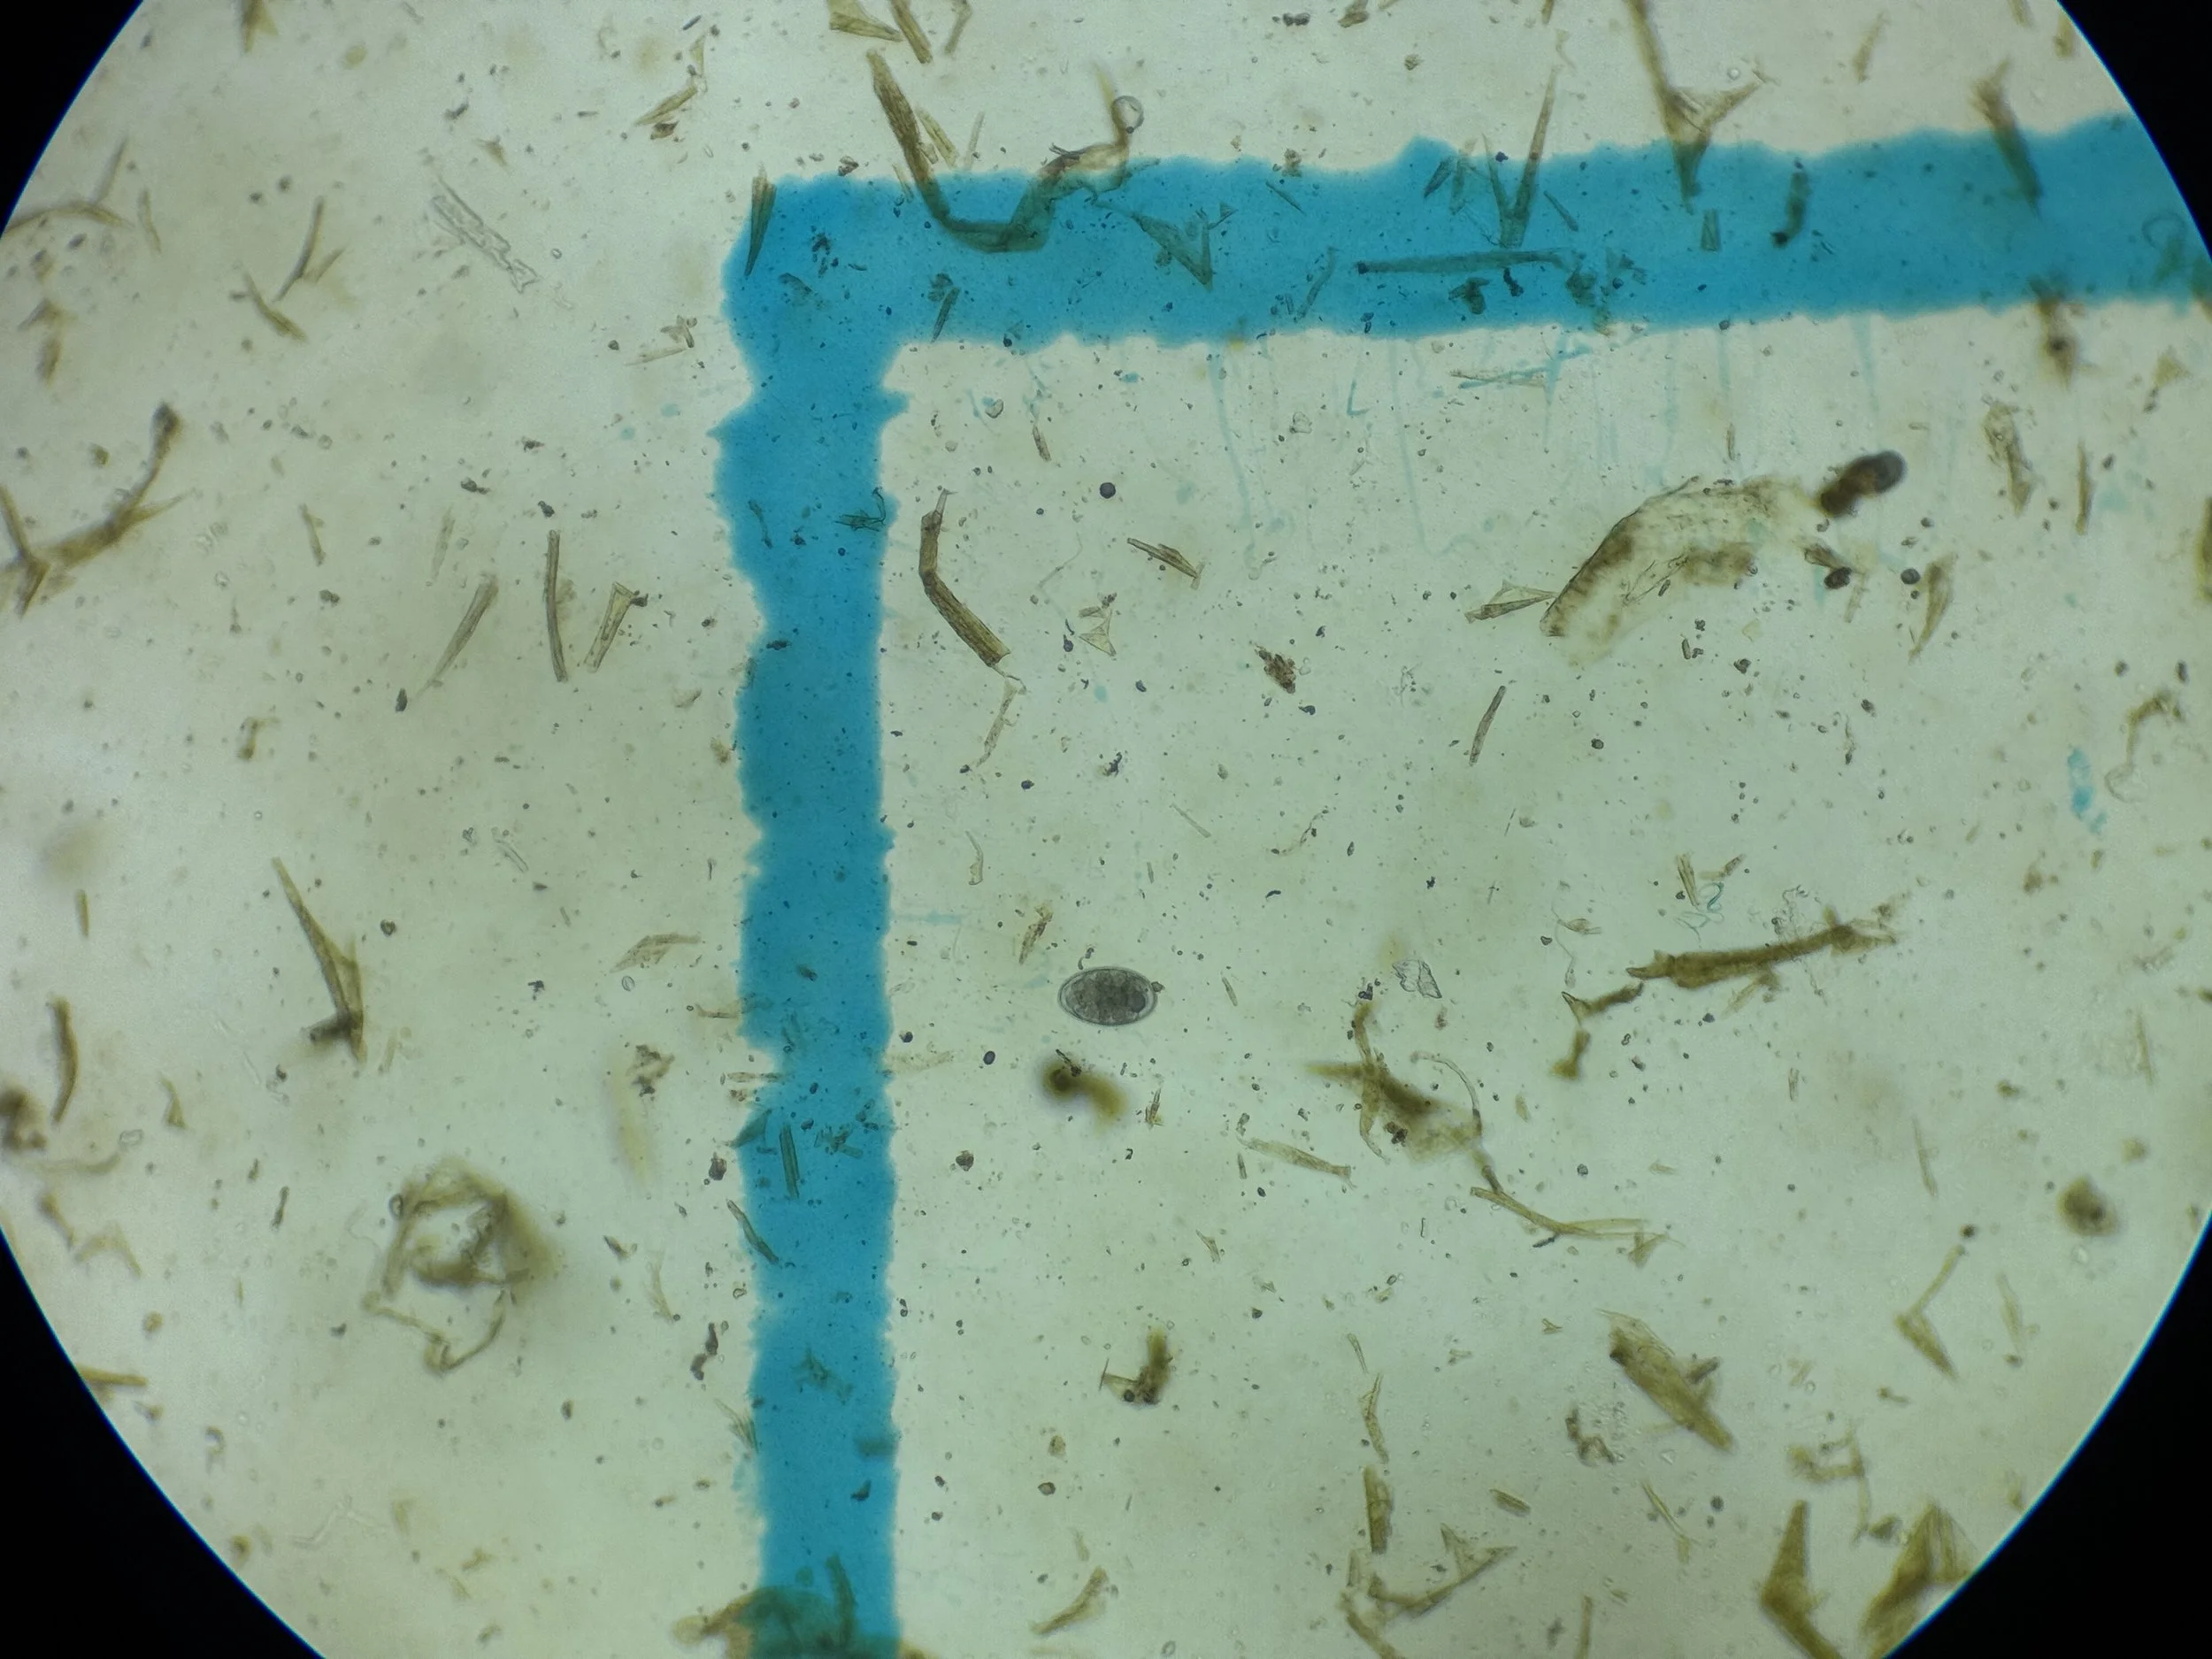
Microscope photography often improves gradually with repetition and practice.
Give Yourself Time to Practice
One of the most important things I encourage students to remember is that microscopy becomes more comfortable with repetition.
The first few attempts at taking microscope photos may feel frustrating, but over time, positioning the phone, adjusting focus, and recognizing structures usually starts to feel much more natural.
Learning microscopy is very similar to learning any hands-on skill. Confidence tends to build gradually through practice and repetition.
If you’d like to learn more about fecal egg counting, parasite monitoring, and microscopy techniques, you can also check out my DIY Fecal Egg Counting Courses.
I also recently shared a YouTube video walking through some of these microscope photography tips step-by-step:
YouTube Video